In summary:
- Selecting ripe vegetables is a science of reading sensory signals, not just a matter of looking at color.
- Key indicators of freshness include structural integrity (firmness), moisture at the cut ends, and intense, natural aroma.
- Proper storage and cooking methods are crucial for preserving the flavor and nutrients you’ve carefully selected.
- Understanding seasonality and farmer’s practices can lead to better quality produce at lower prices.
There’s a universal frustration that every home cook knows: bringing home a haul of beautiful, vibrant vegetables from the market, only to discover they taste like… nothing. It’s a culinary disappointment that can make even the best recipe fall flat. We’re often told to follow simple rules of thumb: look for bright colors, give the produce a gentle squeeze, or buy what’s in season. While not wrong, this advice only scratches the surface and often leads to the same inconsistent results.
But what if the secret wasn’t just in looking, but in *reading* the vegetable? A professional chef doesn’t just see produce; they see a story of its life, from the soil to the shelf. They can diagnose its health, predict its flavor, and understand its potential before it ever touches a knife. This isn’t magic; it’s a sensory science built on understanding the subtle signals of peak ripeness—a language written in texture, weight, aroma, and structural integrity.
This guide moves beyond the generic tips. We will deconstruct the methods chefs use to assess produce, not as passive shoppers, but as active diagnosticians. We will explore the chemical and physical changes that define ripeness, turning your grocery shopping from a game of chance into a precise, confident skill. By the end, you’ll understand why some asparagus snaps perfectly, why your tomatoes turn mealy, and how to unlock the explosive flavor that nature intended.
This article will walk you through the key signs of ripeness for popular vegetables, reveal the common mistakes that destroy flavor, and provide the expert techniques to select and prepare produce that will elevate your cooking from everyday to exceptional.
Summary: A Chef’s Guide to Vegetable Selection Mastery
- How to Spot a Woody Asparagus Before You Buy It?
- Steaming or Boiling: Which Method Saves the Vitamin C in Broccoli?
- The Fridge Error That Makes Your Tomatoes Mealy and Tasteless
- When to Buy Bell Peppers to Get the Lowest Price of the Year?
- Dirty Dozen vs. Clean Fifteen: Which Veggies Must You Buy Organic?
- When to Shop at Markets to Get the Best Produce and Prices?
- How to Taste the Difference Between Forced and Natural Produce?
- Why Does Food Cooked in Unglazed Clay Taste Different?
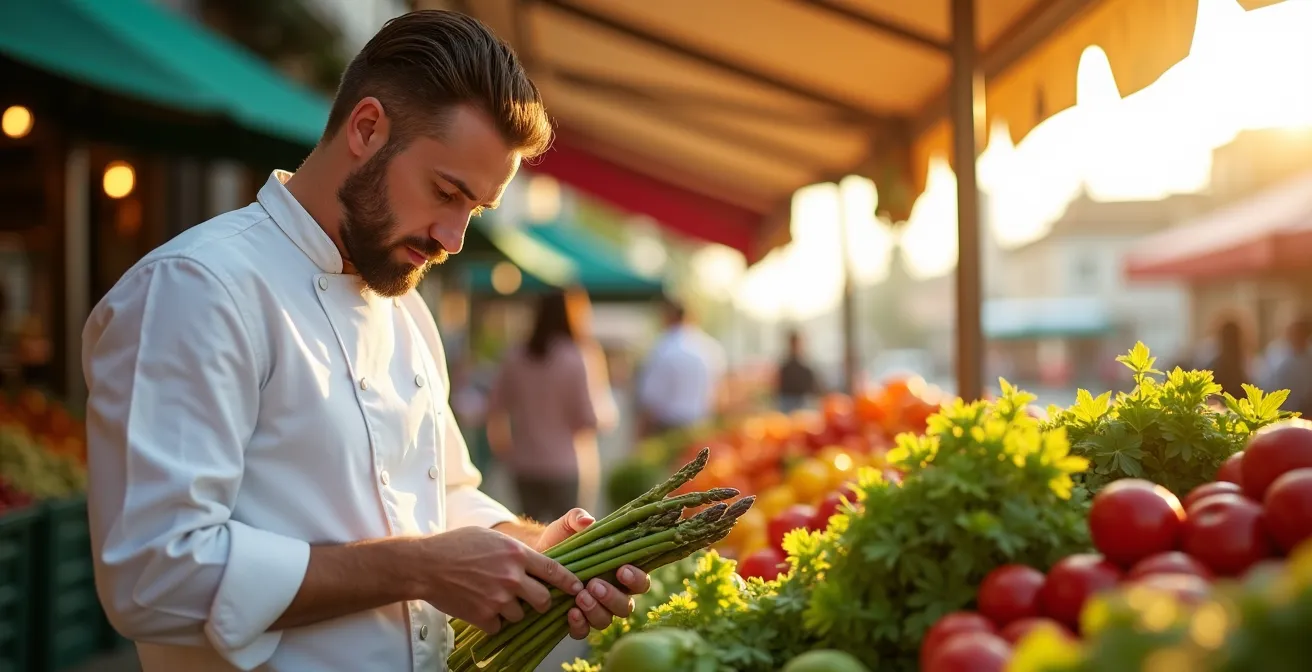
How to Spot a Woody Asparagus Before You Buy It?
Woody asparagus is the nemesis of a spring meal, a fibrous disappointment that no amount of cooking can fix. A chef knows that spotting it starts long before the infamous “snap test.” The first clue is visual and textural. Fresh, prime asparagus spears stand rigid, almost “at attention,” with a vibrant green hue. Their tips should be tightly closed and purplish, showing no signs of “ferning out,” which indicates age. The most critical inspection point is the cut end. It should look moist and freshly cut, not dry, shriveled, or concave.
While many home cooks rely on snapping the spear to discard the woody end, this method is incredibly wasteful. In fact, America’s Test Kitchen research shows that snapping can lead to a 50% weight loss, compared to only 30% when you trim and peel. A chef’s more precise method is to trim just the very bottom (about an inch) and then use a vegetable peeler to remove the tough outer skin from the bottom two or three inches of the remaining stalk. This preserves the tender inner core of the spear, maximizing both flavor and value.
The final confirmation of quality is a sensory one. If you’re able, snap a single spear. A truly fresh one will break with a clean, crisp sound and, if you dare to taste it raw, will have a sweet, almost grassy flavor and a satisfying crunch. This indicates high water content and excellent structural integrity, the hallmarks of asparagus at its peak.
Steaming or Boiling: Which Method Saves the Vitamin C in Broccoli?
You’ve selected a perfect head of broccoli—tight, dark green florets and a firm stalk. Now, how do you cook it without destroying its vibrant color and, more importantly, its nutrients? The choice between boiling and steaming has a dramatic impact on the final product. Boiling, while seemingly straightforward, is a primary culprit of nutrient loss. Because vitamins like C are water-soluble, they leach out into the cooking water. Studies have shown significant nutrient depletion from boiling; for example, NutritionFacts.org research reveals that boiling can cause an average of 14% antioxidant loss in vegetables.
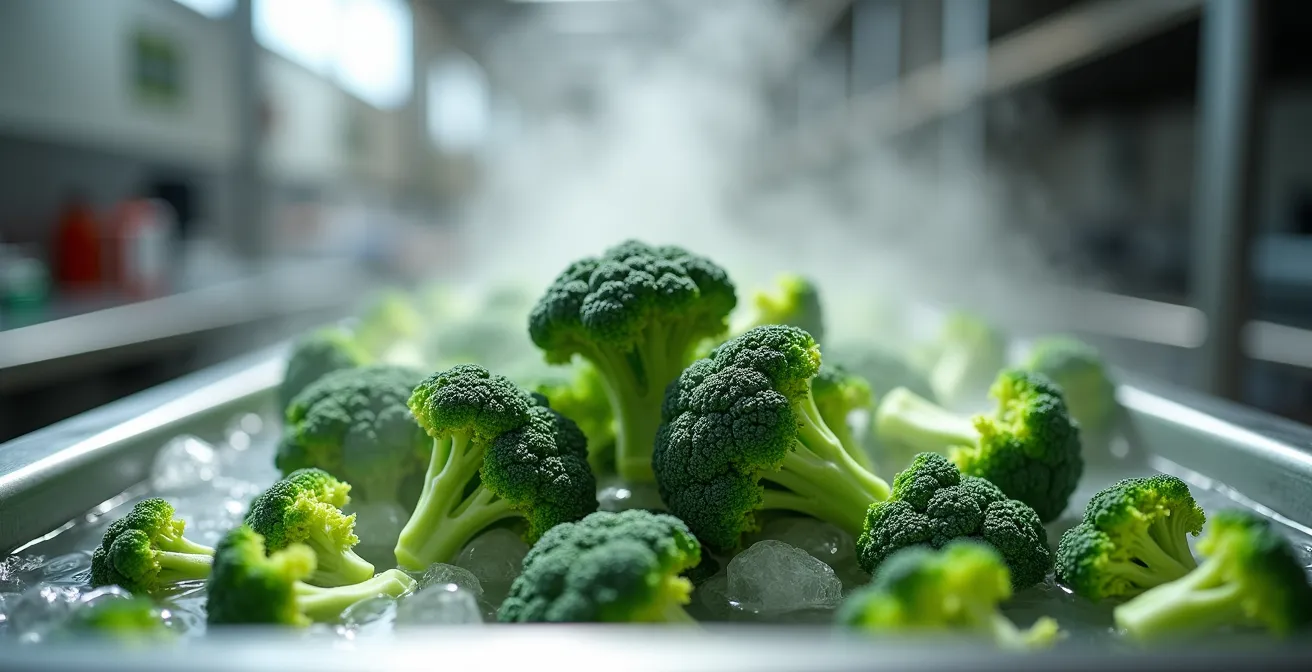
Chefs overwhelmingly favor steaming to preserve both nutrients and texture. The professional “blanch and shock” method, as shown in the image, is the gold standard. It involves steaming the broccoli for a very short time (2-3 minutes) until it turns a brilliant emerald green, then immediately plunging it into an ice bath. This process, known as shocking, instantly stops the cooking process. It locks in the color, maintains a crisp-tender texture, and, most importantly, preserves the delicate, heat-sensitive vitamins. Microwaving with a small amount of water is another excellent method that retains a high level of nutrients.
The table below breaks down how different cooking methods affect vegetable nutrients, helping you choose the best technique for your goals.
| Cooking Method | Nutrient Retention | Best For |
|---|---|---|
| Steaming | Preserves most vitamins | Broccoli, kale, green vegetables |
| Boiling | 14% average antioxidant loss | Root vegetables in soups |
| Microwaving | Increases antioxidants in green beans | Quick vegetable cooking |
| Roasting | Creates beneficial caramelization | Brussels sprouts, cauliflower |
The Fridge Error That Makes Your Tomatoes Mealy and Tasteless
There is perhaps no greater culinary sin than refrigerating a beautiful, ripe tomato. The cold temperature of a refrigerator is a death sentence for a tomato’s texture and flavor. It triggers what is known as cold-induced cellular damage, halting the enzymatic processes that create a tomato’s complex aromatic compounds and causing its cell walls to break down. The result is a mealy, watery, and bland shadow of its former self. This is especially true for delicate, thin-skinned varieties.
Legendary chef Alice Waters, a pioneer of seasonal cooking, emphasizes this point with a specific warning. In her MasterClass, she explains:
Heirloom varieties like Brandywine are far more susceptible to cold-induced cellular damage than robust, commercially bred hybrids like Roma.
– Alice Waters, MasterClass Guide to Seasonal Produce
So, what is the correct way to store them? A chef’s strategy depends on the tomato’s ripeness. Perfectly ripe tomatoes should be stored at room temperature, stem-side down, away from direct sunlight and ethylene-producing fruits like bananas. If a tomato is slightly underripe, this is how it will continue to develop its flavor. If you absolutely must slow down the ripening of a near-perfect tomato, the fridge can be used for a maximum of 24-48 hours. Should you accidentally refrigerate one, a chef’s trick is to submerge it in lukewarm water for about 15 minutes before using it to help reactivate some of its dormant flavor compounds.
When to Buy Bell Peppers to Get the Lowest Price of the Year?
Bell peppers are a staple in many kitchens, but their price can fluctuate dramatically. A savvy chef knows that timing the purchase is key to getting both the best quality and the best price. While bell peppers are available year-round, their peak local season is typically late summer through early fall. This is when the market is flooded with them, and prices naturally drop. However, the absolute lowest prices often appear during a specific event known as the “first frost glut.” Just before the first anticipated frost, farmers harvest their entire fields at once to avoid losing the crop, creating a massive, temporary surplus.
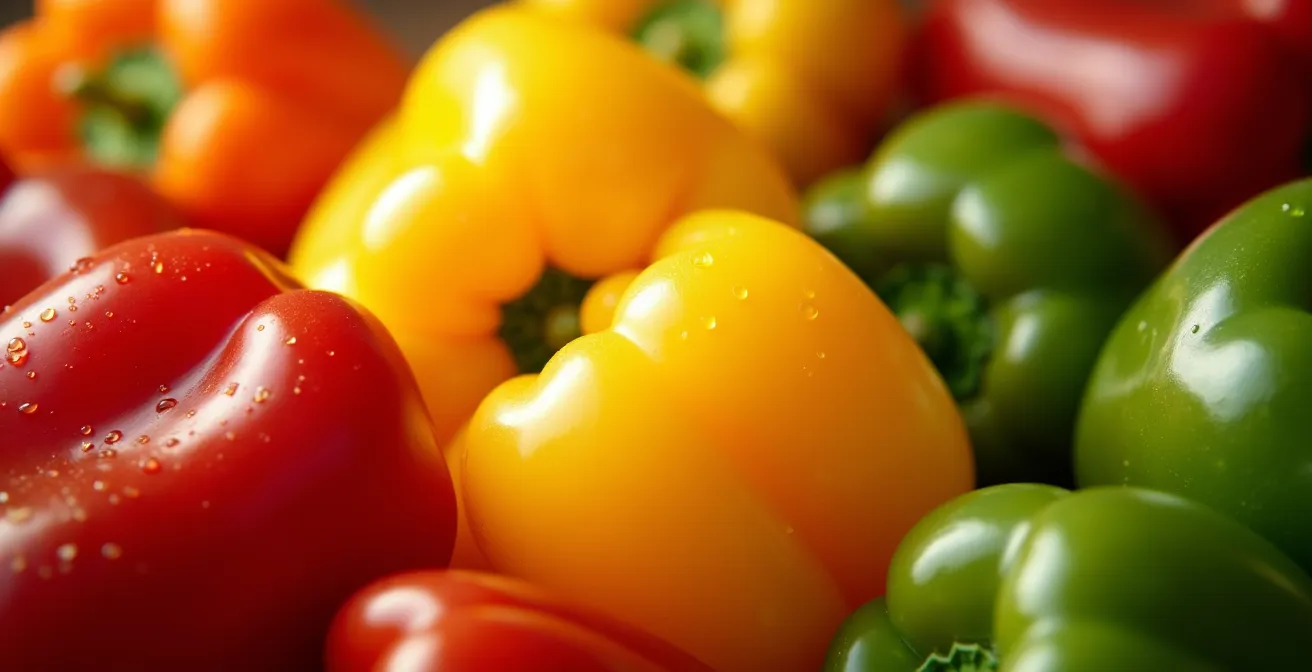
When selecting peppers, look for glossy, unwrinkled skin and a firm, heavy feel for their size, which indicates thick walls and high water content. The color also tells a story. Green peppers are simply unripened peppers of other colors (red, yellow, orange). They are harvested earlier, require less time on the vine, and are therefore almost always cheaper. Red peppers are the most mature, having spent the longest time developing sugars, which makes them the sweetest and often the most expensive.
Case Study: Seasonal Price Analysis at Farmers Markets
Analysis of farmers market pricing patterns consistently shows a significant drop in bell pepper prices during the “first frost glut.” Professional chefs report saving between 40-60% by purchasing in bulk during this time. A key strategy they employ is buying “seconds”—peppers with minor cosmetic blemishes like odd shapes or surface marks. While not ideal for raw presentation, these peppers are perfectly delicious and are ideal for roasting, stuffing, or making sauces, offering incredible value.
Dirty Dozen vs. Clean Fifteen: Which Veggies Must You Buy Organic?
The “Dirty Dozen” and “Clean Fifteen” lists from the Environmental Working Group are well-known guides for navigating pesticide exposure in produce. However, a chef’s approach to buying organic is often more nuanced and practical, blending these guidelines with direct observation and farmer relationships. The decision isn’t just about a list; it’s about understanding the vegetable itself and its journey from the farm. A simple, effective heuristic is the “Peel-or-No-Peel” rule: if you eat the skin (like with peppers, spinach, or berries), prioritize organic. If you discard the peel (like with avocados, onions, or pineapples), conventional is often a safe and economical choice.
Furthermore, many chefs argue that “local” can be more important than “certified organic.” A massive, certified organic farm that ships produce thousands of miles may have a larger environmental footprint and less flavorful products than a small, local farm that uses responsible practices but can’t afford the costly certification. As Chef Natasha Pogrebinsky of the former bear restaurant in NYC noted, the source is paramount.
A relationship with a local, non-certified farmer you can talk to might be safer and yield better produce than a mass-produced ‘organic’ vegetable shipped from thousands of miles away.
– Chef Natasha Pogrebinsky, Greenhouse Magazine
Building a relationship with a farmer at your local market allows you to ask directly about their growing practices. Some chefs even see minor, cosmetic bug holes as a positive sign, indicating minimal pesticide use. For conventional produce, a simple wash in a 1:3 vinegar-to-water solution can help remove surface residues.
Your Action Plan: Smart Organic Shopping
- Apply the ‘Peel-or-No-Peel’ rule: If you eat the skin (e.g., apples, leafy greens), prioritize buying organic.
- Prioritize local farms: Choose produce from a local farmer you can speak with about their methods, even if they aren’t certified organic.
- Inspect for natural signs: Look for minor, superficial bug holes as an indicator of low pesticide usage.
- Wash conventional produce effectively: Use a solution of one part vinegar to three parts water to wash produce with edible skins for at least 20 seconds.
- Build relationships: Talk to your farmers to get insider knowledge on their specific growing practices and what’s best that week.
When to Shop at Markets to Get the Best Produce and Prices?
The timing of your farmers market trip can be as crucial as what you buy. Most people assume the best strategy is to arrive at the opening bell for the best selection. While true for high-demand, limited-quantity items, chefs often employ a more strategic approach. Restaurant buyers typically hit the market between 7-8 AM to secure the absolute premium selection for their menus. However, for the discerning home cook, the sweet spot can be later in the morning.
Professional chef Sylvia Fountaine identified what she calls the “Chef’s Hour,” typically between 10-11 AM. By this time, the initial frantic rush has subsided, vendors are more relaxed, and they’re often more willing to chat, offer samples, and give you their expert opinion on what’s peaking. This is the ideal time to build relationships and gain valuable insight directly from the growers. The produce is still exceptionally fresh at this hour; the 93% water content in just-picked asparagus, for example, is a testament to the freshness advantage local markets provide over supermarket produce that has spent days in transit.
On the other end of the spectrum is end-of-day shopping. Arriving in the last hour before closing can yield significant discounts, often 30-50% off, as vendors look to offload their remaining inventory rather than transport it back. This produce might be slightly overripe or cosmetically imperfect, making it unsuitable for a pristine salad but absolutely perfect for immediate use in sauces, soups, jams, or roasted dishes where peak aesthetic quality is less important than developed flavor.
How to Taste the Difference Between Forced and Natural Produce?
Have you ever tasted a winter tomato that looked perfectly red but had the flavor and texture of cardboard? You’ve experienced “forced” produce—vegetables grown out of season in artificial environments. Naturally grown, in-season produce develops its flavor slowly, drawing complex nutrients from the soil and converting sunlight into sugars. The difference in taste is profound, and a trained palate can spot it immediately. As Chef Alice Waters famously says, “Food is a living thing. So you really have to know that after it’s picked, it’s always changing every day.” This constant change is what you learn to assess.
The first signal is aroma. A naturally ripened cantaloupe or tomato will perfume the room with its sweet, earthy scent. These are its aromatic volatiles, a sign of complex flavor development that forced produce almost always lacks. The next test is weight and density. Natural produce often feels heavier for its size because its cellular structure is more complex and less water-logged. When you slice into it, the internal structure should look intricate and dense, not pale and uniform.
To truly train your palate, conduct side-by-side comparative tastings, just as a sommelier would with wine. Taste an in-season, local strawberry next to a large, out-of-season one from a clamshell package. The difference will be stark. Note not just the initial sweetness, but the “finish” or aftertaste. Natural produce has a lingering, complex flavor that evolves in your mouth, while forced produce often has a flat, one-note taste that disappears instantly. This practice of active tasting is the ultimate skill in a chef’s arsenal for quality assessment.
Key Takeaways
- Read the Signals: Freshness is communicated through structural integrity (firmness and weight), moisture at cut ends, and vibrant, natural aromas—not just color.
- Storage is Active: How you store vegetables (especially tomatoes) is an active part of flavor preservation. The fridge is often the enemy of texture and taste.
- Cook with Purpose: Your cooking method (e.g., steaming vs. boiling) directly impacts the nutrient content and flavor of your carefully selected produce.
Why Does Food Cooked in Unglazed Clay Taste Different?
The journey from a perfectly selected vegetable to an unforgettable dish doesn’t end at the cutting board. The cooking vessel itself can profoundly alter the final taste and texture, and few materials demonstrate this as powerfully as unglazed clay. Chefs who use unglazed clay pots, like tagines or romertopfs, are harnessing ancient technology to achieve a uniquely modern depth of flavor. The secret lies in the pot’s porous nature.
Before use, an unglazed clay pot is soaked in water. As it heats up in the oven, this absorbed water turns to steam, creating a uniquely humid cooking environment inside the sealed pot. This process is a form of “super-steaming” that gently coaxes out the natural flavors of the vegetables. It allows their sugars to concentrate slowly without scorching, resulting in a deeper, more rounded sweetness. Furthermore, the clay itself is alkaline, which helps to neutralize the natural acids in ingredients like tomatoes, making them taste perceptibly sweeter and less sharp without adding any sugar.
Over time, a well-seasoned clay pot develops a unique character. The porous clay absorbs the oils and flavor compounds from past meals, building up layers of flavor that are impossible to replicate in non-porous metal or glass cookware. To achieve this, it’s crucial to season the pot correctly by starting it in a cold oven to prevent thermal shock and cleaning it with only water and a stiff brush, never soap. By layering vegetables according to their density—root vegetables on the bottom, leafy greens on top—you create a self-basting, flavor-concentrating ecosystem that transforms simple ingredients into something extraordinary.
Start applying these sensory techniques on your next market trip. Go beyond just looking—smell, touch, and assess your vegetables with the critical eye of a chef. You will not only bring home better ingredients but also transform your cooking from merely acceptable to truly exceptional.